What a transformation!
With a complete makeover in Santa’s workshop,
this little sled is as cute as can be and sure
to live a jolly life for many years to come!

Remember the days when it was fun to go outside and play in the snow until your cheeks and toes went numb? Those were the days! Was there anything better than growing up near a good sledding hill? Whether it was on a toboggan, a sled with skis, saucer, or a big piece of cardboard, the anticipation would mount while you waited your turn to ride the hill. No matter if you made it all the way to the bottom or crashed and tumbled part way down, the ride was exhilarating!

photo copyright of Charles Schulz
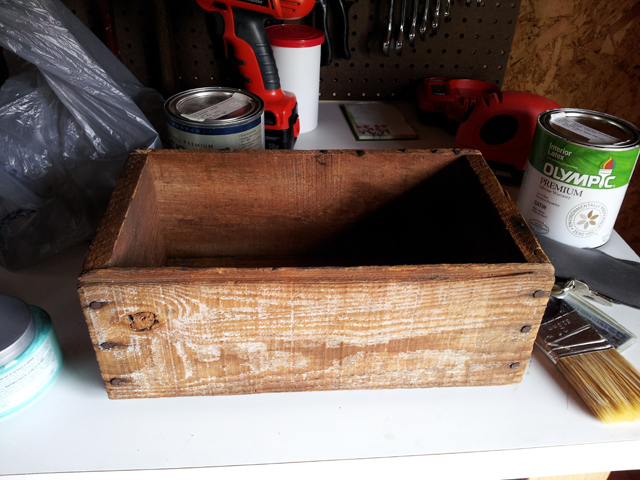
On one of my recent adventures, I was rooting around in a dusty old garage and there, leaning up against a wall was this dry, frail-looking, little sled. I loved it! It instantly took my memory for a long ride back to the sledding fun we had had as kids.


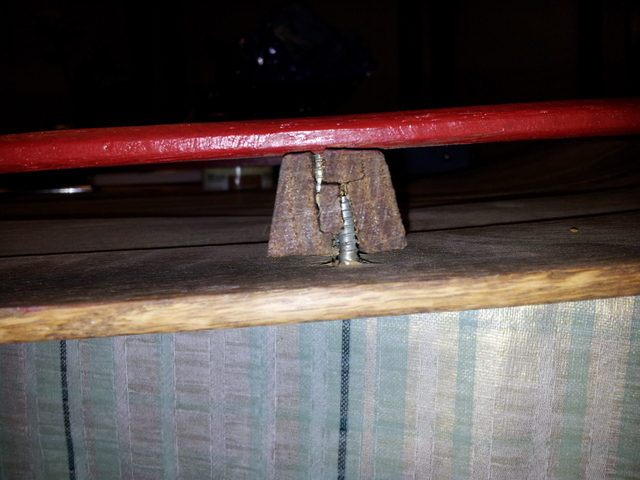
Next a repair was made where screws that were too big had split the wood. DIY Tip: It’s always best to first drill a hole that is slightly smaller in diameter than the screw you will be using. This will prevent the wood from splitting when you insert the screw. After I removed the screws, I glued and clamped the area and let it dry overnight before drilling holes and re-inserting screws.

A coat of pretty, red paint brought the handrails to life again! I was very careful not to get paint on the wood that was to be stained.

Now for my favorite part of this project. . .the stain. Not that I love to stain, but the dry wood literally soaked up the dark walnut stain and the transformation was instantaneous! Look at the beautiful wood grain. I was thrilled with the result!


Just a little bit of brown glaze over the red paint and a light sanding on the edges gave it a nice vintage look.


And at last, the finishing touch. . .a new jute rope.
This little guy was a Reclaimed Treasure indeed!

 The little sled is now awaiting adoption into a new family who will love it as much as I have. Wouldn’t it look great next to a fireplace, on a front porch, or used as a prop to sit the little ones on it for holiday pictures?
Here's a link to the Craigslist ad


Do you have a favorite winter-time memory? I'd love to hear about it!
My gate is always open, Jeri